


How To Use the Index Manager in cPanel
Posted on by dpepper
Reading Time: 3 minutes
cPanel Tutorial: Paper Lantern Walkthrough
I. How To Log In To cPanel
II. How To Create an Email Account in cPanel
III. How To Set Your Default Address in cPanel
IV. How To Set up an Autoresponder in cPanel
V. How To Set up Email Forwarding in cPanel
VI. How To Set up Email Filters in cPanel
VII. How To Enable Spam Protection in cPanel
VIII. How To Add an MX Entry in cPanel
IX. How To Use Webmail from Within cPanel
X. How To Change Your cPanel Password
XI. How To Update Your Contact Information in cPanel
XII. How To Change Your cPanel Theme
XIII. How To Change the Primary Language in cPanel
XIV. How To Add a Record With the DNS Zone Editor in cPanel
XV. How To Back up Your Website in cPanel
XVI. How To Use the Disk Space Usage Tool in cPanel
XVII. How To Create Additional FTP Accounts in cPanel
XVIII. How To Password Protect a Directory in cPanel
XIX. How To Use the IP Blocker in cPanel
XX. How To Set up Hotlink Protection in cPanel
XXI. How To Create a Subdomain in cPanel
XXII. How To Create an Addon Domain in cPanel
XXIII. How To Create a Domain Alias in cPanel
XXIV. How To Set up Domain Redirects in cPanel
XXV. How To Create a MySQL Database in cPanel
XXVI. How To Use the Index Manager in cPanel
XXVII. How To Create Custom Error Pages in cPanel
XXVIII. How To Set up a Cron Job in cPanel
- This tutorial assumes you’ve already logged in to cPanel, and are starting on the home screen.
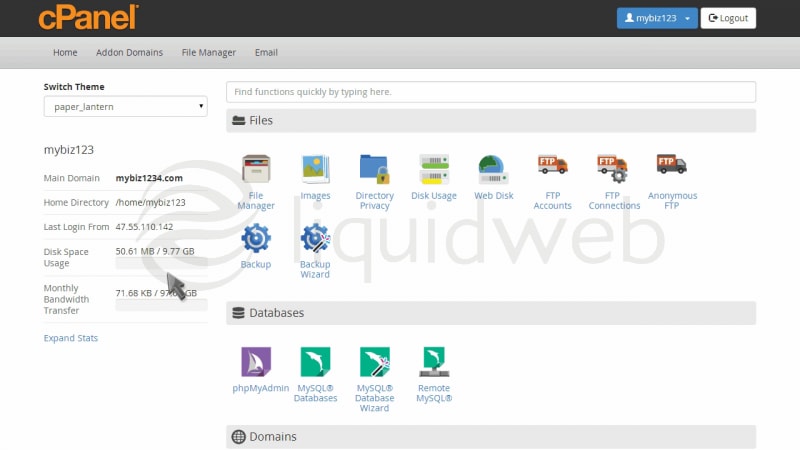
- Now let’s learn how to use the Index Manager.
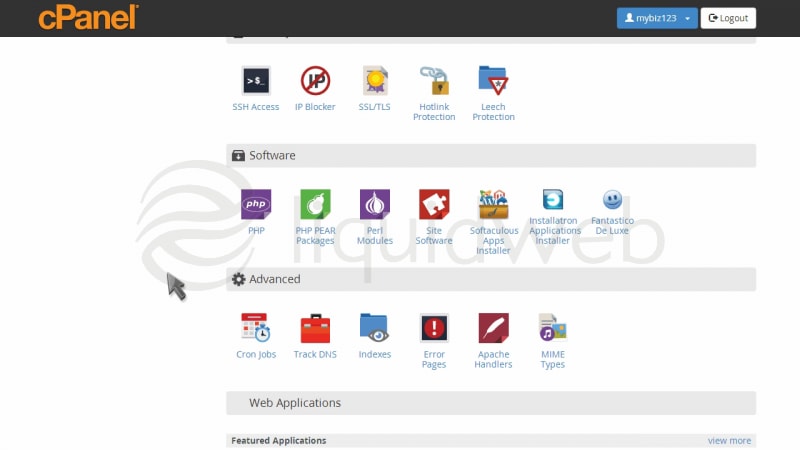
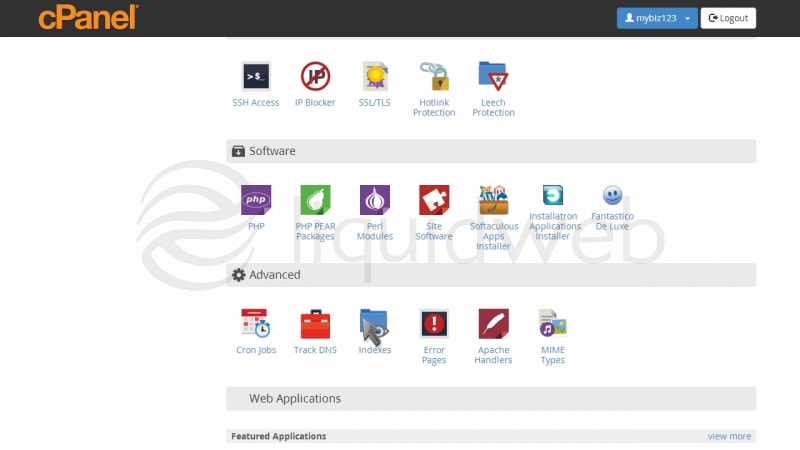
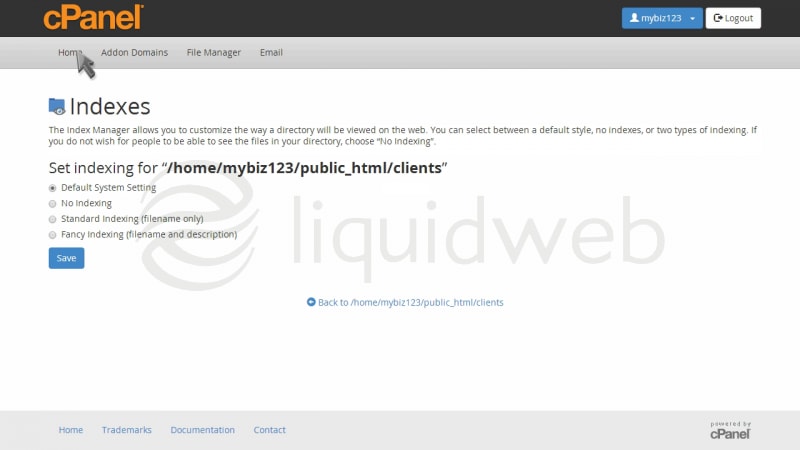
- Click the “Indexes” icon.
- The Index Manager enables you to control how directories on your website are displayed.
If there is no index.html file in a given directory, the contents of that directory will be listed in a browser. This can cause security issues. With Index Manager, you can set your account up to not allow your directory contents to be shown.
- Let’s setup Index Manager for the client’s directory.
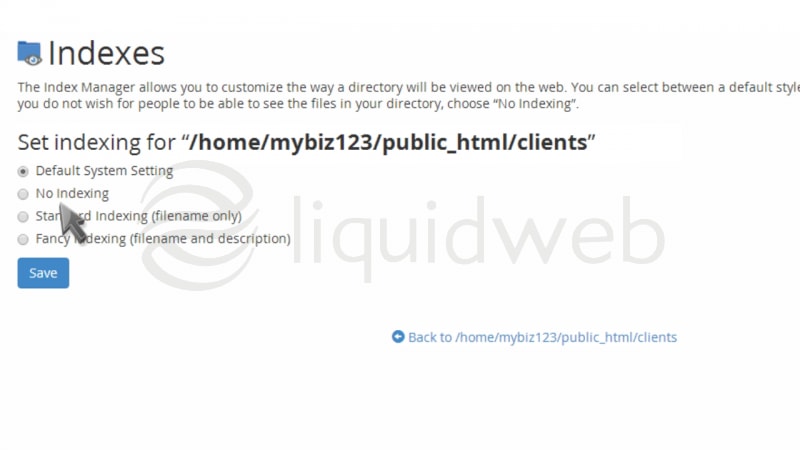
- There are four settings to choose from.

- The “Default System Setting” allows the directory contents to be shown. “No Indexing” does not allow directory contents to be shown. “Standard Indexing” prevents browsers from viewing contents of directories that do not contain image files. “Fancy Indexing” displays file names and information, such as file size and the last-modified date.

- Since we do not want the contents of this directory shown, we’ll choose the “No Indexing” option.
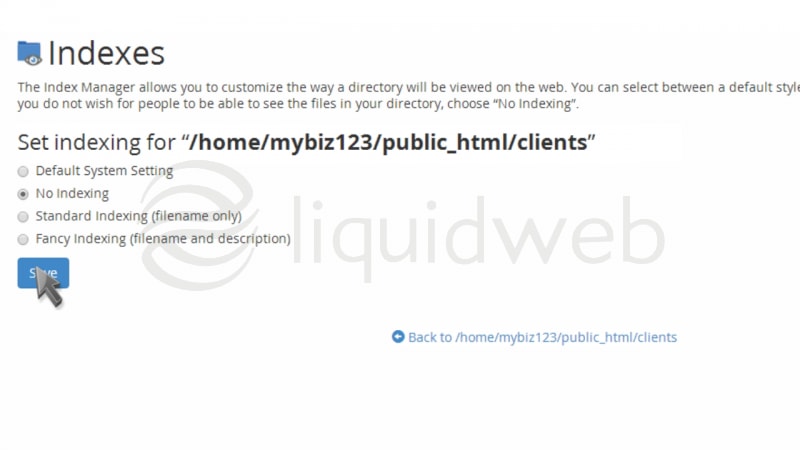
- That’s it! The index settings have been updated, and visitors can no longer view the contents of the clients directory.
Related Articles:


About the Author: dpepper


Categories
Have Some Questions?
Our Sales and Support teams are available 24 hours by phone or e-mail to assist.
1.800.580.4985
1.517.322.0434
Latest Articles
Useful Features in cPanel for Your Sites
Read ArticleUseful Features in cPanel for Your Sites
Read ArticleHow to Clone a Drupal Site to Another Domain
Read ArticleAccessing Man Pages on Ubuntu 16.04 LTS
Read ArticleWhat is VMware Fusion?
Read ArticleWant More Great Content Sent to Your Inbox?